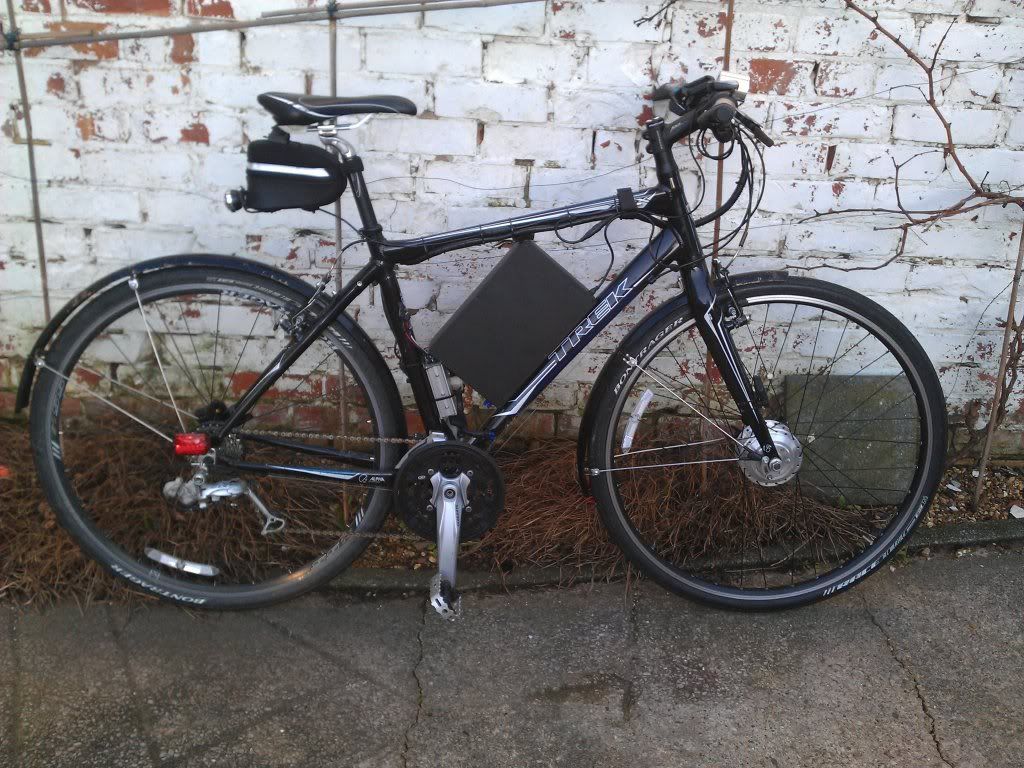
More updates (god I've missed having a project  )
)
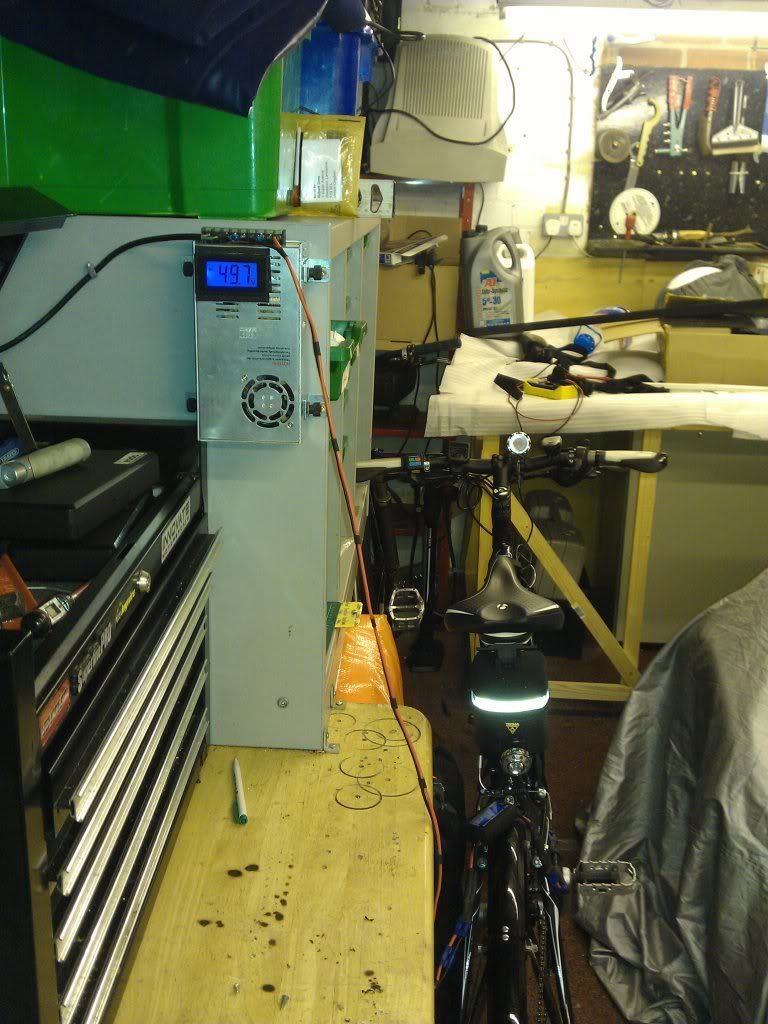
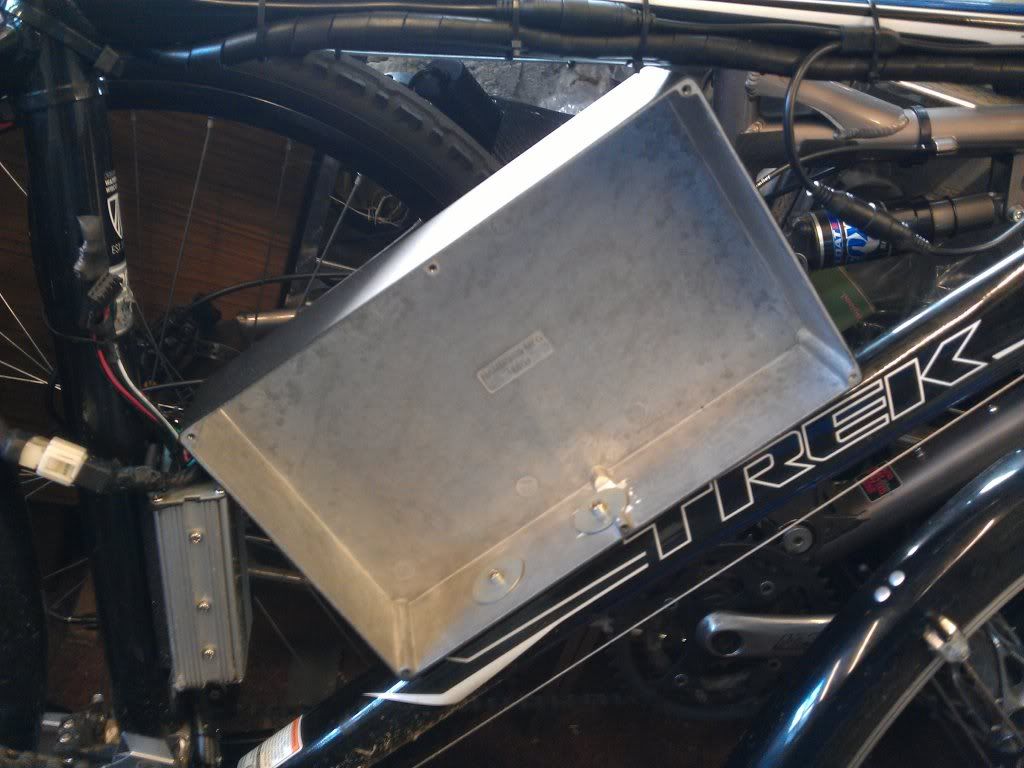
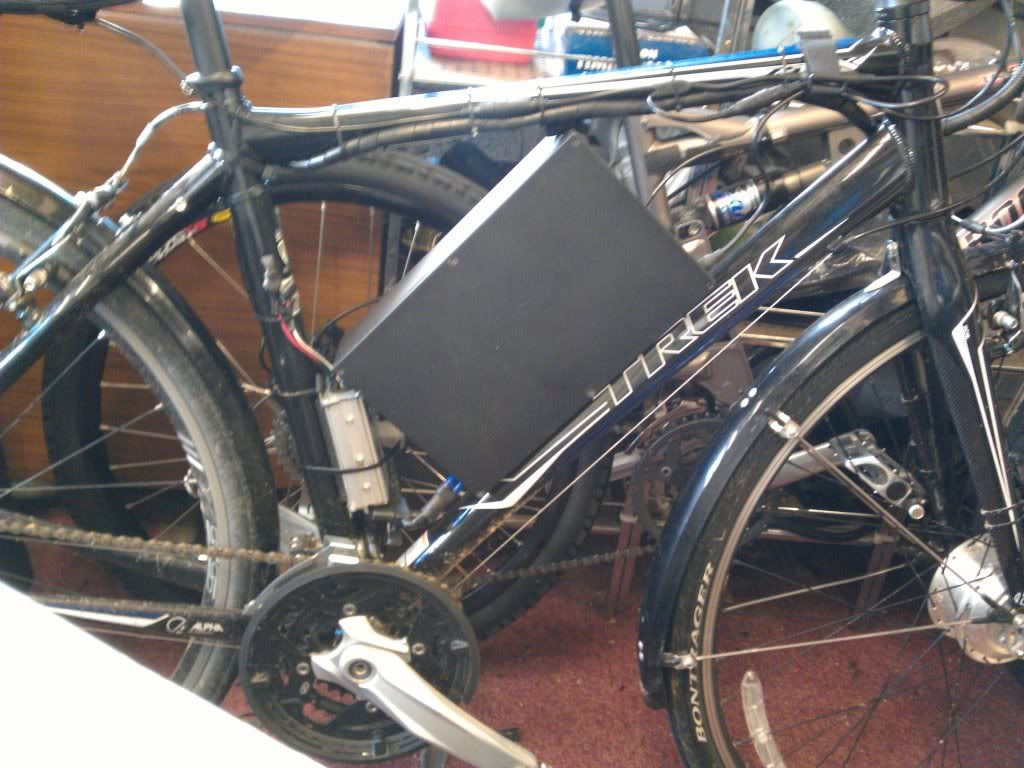
Got my Meanwell S-350-48 power supply on Saturday so set out to the garage last night to get it modded/set up (pic to follow).
First step was to lower the current it can deliver. As Lipo's have a very low impedance if you connect the PSU up to the pack it will deliver about 11 amps or 150% of it's rated current - this is because the PSU's are used in environments where a large peak like this might be required but only for a short period of time. leave the psu connected up to a pack charging at 12 amps and the psu will burn out in short order.
To trim this current down yuo can either do two things - fit a pot to the R33 resistor or file or snip one or more of the three shunts on the board. Ever being the fan of simpe solutions I just snipped through one of the shunts which resulted in a max amp draw of 8 amps @48v settling down to 7.5amps - a little higher than the rated 350watts of the psu but that should be fine.
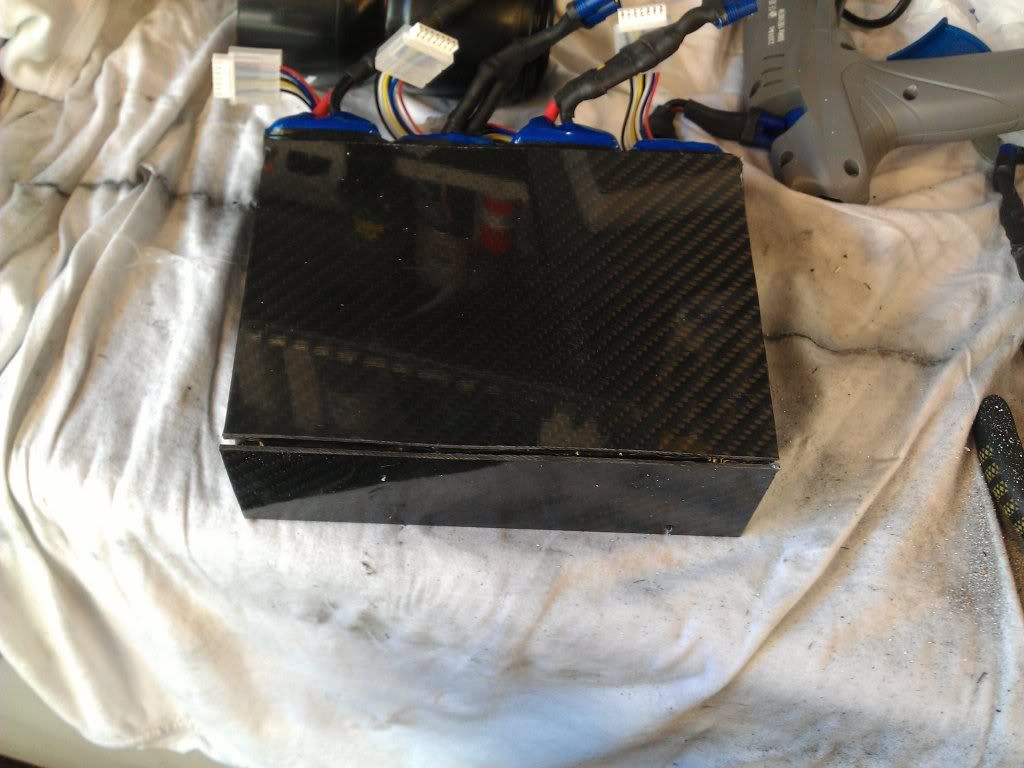
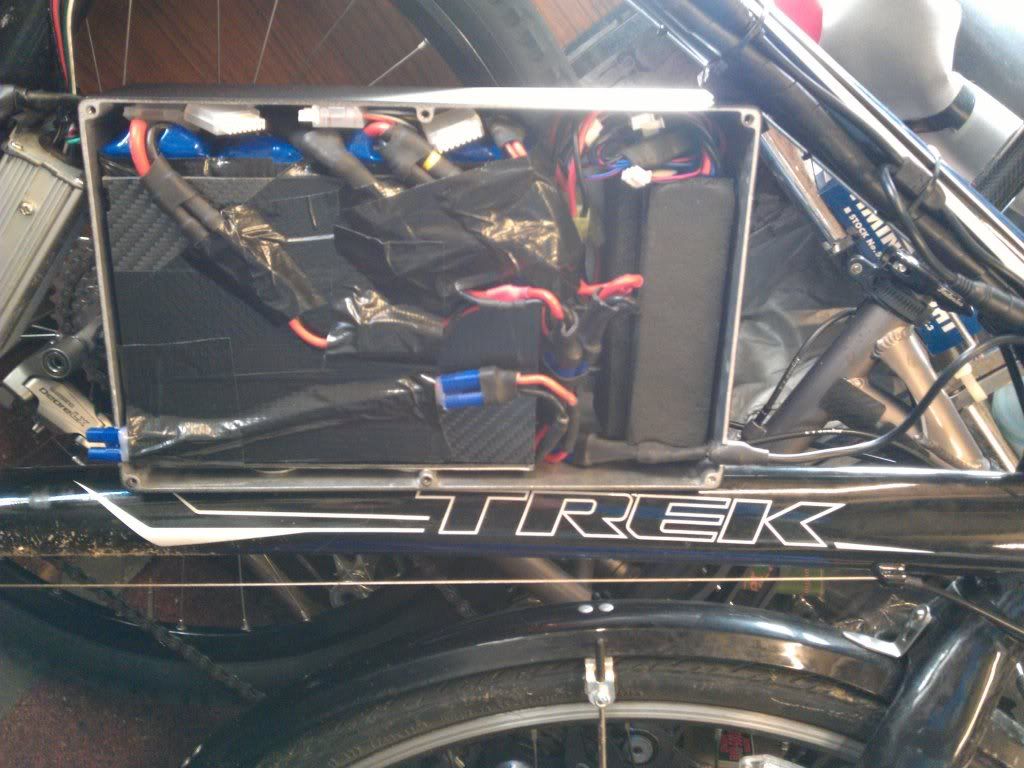
The next job is to trim the voltage of the psu to match the max voltage you want your pack to reach. I'm using four 6s 5000mah lipo bricks in 2s2p config so that's a max voltage of 50.4v (12 cells @ 4.2v each). In order to leave a little headroom for safety and in a bid to extend the cycle life of the lipo packs slighly I have set the voltage of the psu to 50v - which equates to, in theory, 4.17v I have also mounted a panel mount voltage LCD display on the outside of the case so I can keep an eye on charge progress.
So, how does it work?
Well, the PSU is a CC/CV power supply, meaning it will attempt to put out a constant current whilst the "load" (in this case our battery" remians below the voltage limit of the psu. When the voltage of our battery approches that of our psu limit, the psu reduces the current exponentially - eventually to zero - so that our back and psu both have the same voltage (50v in this case) and no current flowing into the battery.
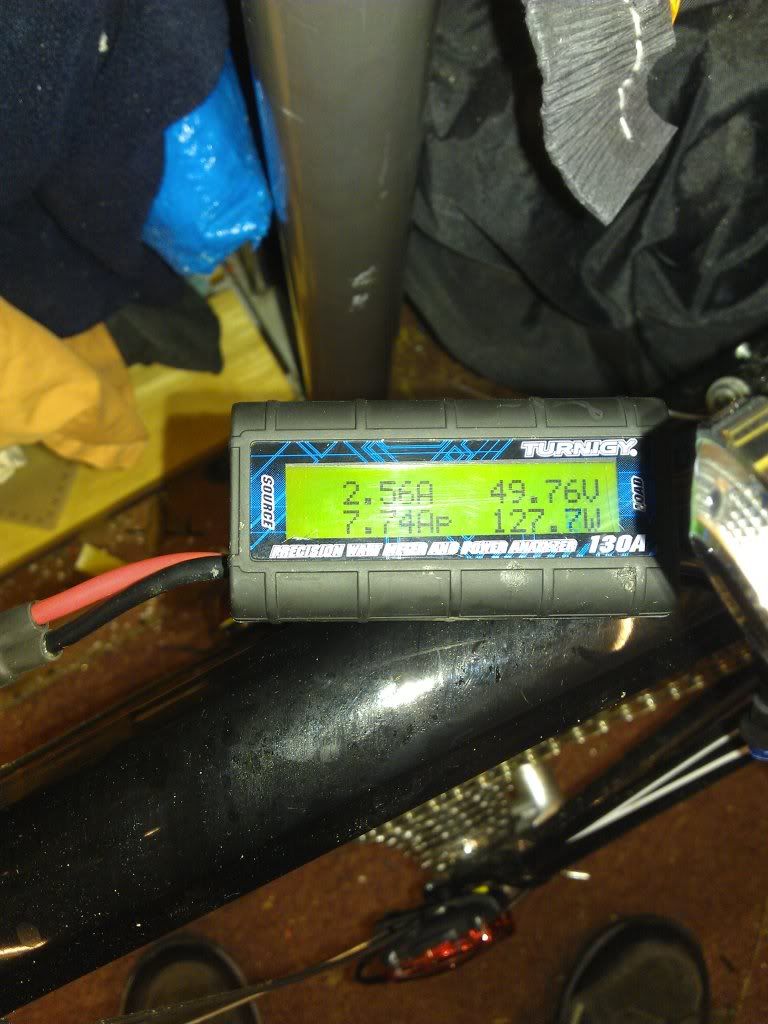
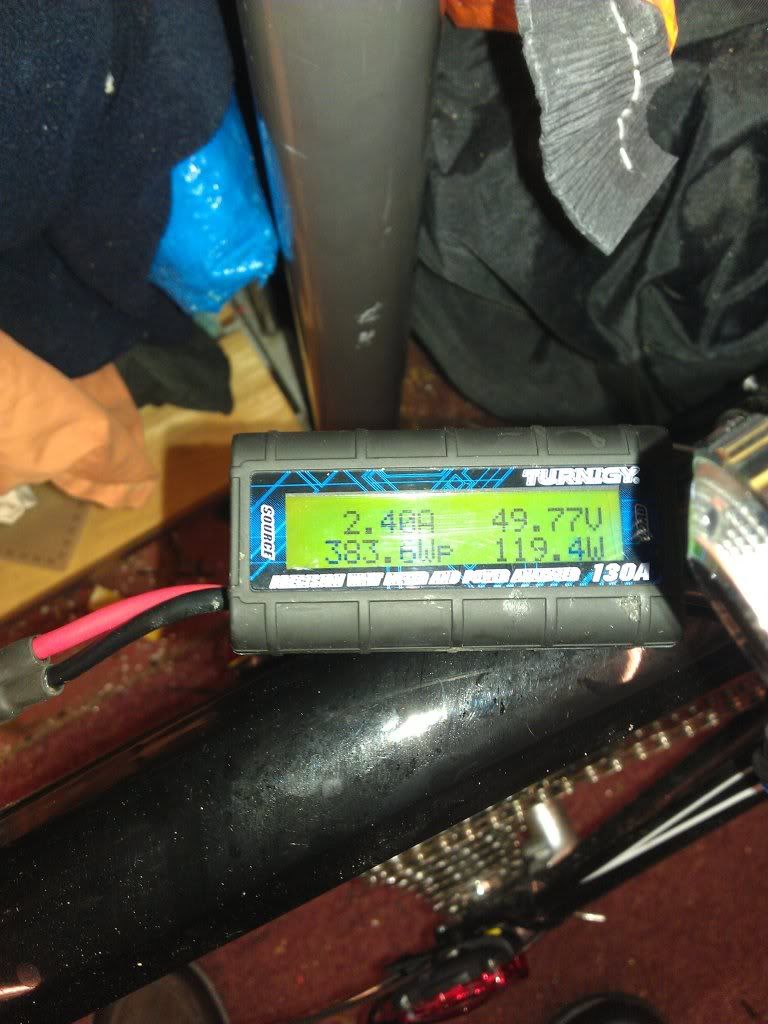
My first test I had my cellog8m monitor attached to one of the balance taps and put my ampmeter inline with the positive lead and set it off. Voltage started at 48v and pumped a stead 7.5 amps into the pack until the pack reached 49.5 v then the current started to steadily lower and at around 1.5amps the pack was sitting at 50v exactly. the current proceeded to reduce steadilly and the pack voltage never exceeded 50v and then I heard the psu click off when the amps reached 25ma - then they went to zero! Excellent - I wasn't expecting the psu to actually switch off when the pack was charged - that provide some re-assuring safety when charging lipo. Didn't time the charge (it was only about 20% drained) but it was deffineately under 30mins and it's going to be so much easier to charge than connecting it all up to my hobby charger.
Whilst I'm getting a feel for how the charge process works I'll be keeping a close eye on the pack - especially cell balance - bulk charging does not balance at all but I'm glas to sayy all cells withing the pack were within 20mv and all sitting at 4.16/4.17v. The aim will be to balance charge every 10 cycles - or at least check the balance every 10 cycles as some on Endless Sphere state they haven't need to balance in over 100 cycles, especially if they avoid a >80% discharge.
Right, what else can I do?
Oh yes - I'm building an 8ah lipo pack consisting of four 2ah 2s Turnigy Nano packs into a water bottle as a battery pack for my new MagicShine MJ-856 bike light (I don't trust MagicShines battery packs)
Pics to folllow!


