Conversely, I can see that although the charger LED has turned green, the BMS may still be performing its 'balancing act' (at low current) and premature disconnection of the charger might (or will?) disrupt this.
As you are worried about leaving things connected and so "timer" charge, there is a good chance that after deeper cycles, the battery will not be fully charged when the timer finishes and in effect you are charging to a lower voltage in those cases. If you set the timer for the same amount of time for a shallow discharge, then it will reach the full voltage of the charger and sit for a while at maximum voltage - and hopefully do some balancing

, or it could be sat there for a while at maximum voltage and potentially not doing the battery any good.
So what in your view is a reasonable time to leave the charger connected after the charger LED has gone green?
That is the great unknown, because in most battery packs, everything is closed down and inaccessible. The time needed for balancing depends on how far out of balance the cells are, which you can't usually see.
The best I can suggest is to look at the current going to the battery once the green light comes on. Typically, for a 6p 10s pack this red to green switching occurs when the charging current drops to around 150 mA (this exact figure will be charger model dependent). This should gradually drop down to 1ess than 10mA, over about an hour or so. When the current is less than 10mA then you know balancing must be as good as completed. You need to be very careful measuring current with these batteries (eg with a multimeter), so the best thing to do is to permanently wire in an energy meter between the charger output and the battery and you can monitor continuously. It will also tell you what the voltage is:

The good news is that is seems modern 18650 cells are quite good in terms of their consistency and if they start off balanced, they will stay in balance for quite a while - see the text in bold below:
Partial Charge and Cell Balancing
One of the only downsides to partial charging is that many inexpensive battery management system (BMS) circuits will only do active bleed balancing of the cells when they are at or near the full charge voltage of 4.2 V/cell. This means that with partial charge profiles that don’t reach that voltage, the BMS circuit will never be able to rebalance cells if they are drifting apart. Over time you may have less available capacity from the pack as certain cells will hit the low voltage cutoff on discharge well before others.
If this is an issue it can be easily remedied by occasionally (like once every month or two) leaving the pack connected to a 100% charge cycle overnight.
Good quality programmable BMS circuits will usually attempt to balance the cells whenever they see more than a certain voltage spread between the highest and lowest cell in the group, and in that case there is no problem with partial charges. Similarly, good quality cells rarely drift out of balance in a series string, and can easily handle 100 or more cycles and maintain a perfect voltage matching even if the BMS circuit doesn’t do any active balancing. But if you aren’t sure of the makeup of your battery pack, then the protocol of occasionally giving a 100% top-up is a good bet to ensure both a long cycle life and evenly matched cell voltages.
Taken from:
The Satiator Charge Simulator is a web application for creating custom charge profiles for your lithium battery pack. It allows you to view a simulated charging graph to see the charging time in difference scenarios, produce partial charge profiles to maximize battery cycle life, and download...

ebikes.ca
PS - you have mentioned more than once about ensuring the accuracy of the DVM - apart from the expence of a lab calibration, do you have any tips on more affordable methods? I'd thought of approaching an electrician and doing a side by side comparison against his calibrated DVM.
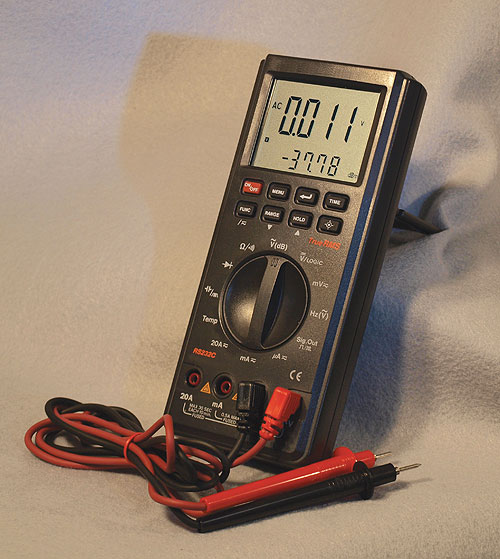
This is the big problem with multimeters, especially when you need to measure small differences in a relatively large voltage like 42V, where you have to use the 200V range. Even an error of 1% means 0.42V and most cheap multimeters are not even that good. If you see 42V on your multimeter, it could easily be 41.6 V or as much as 42.4 V...or far worse. Some multimeters I've had can be out by more than 1V when measuring 42V. Calibration is not an easy thing to do without expensive equipment. Apart from buying an expensive calibrated meter, your best bet may be asking a local college if they could stick your meter on their calibration equipment on the 200V range to give you an idea how accurate it is.
Here is some interesting info on the subject:
If you are not sure how accurate your digital multimeter measurement is, find its accuracy specifications in the instruction manual, and then read this to

www.designworldonline.com
Here someone has built their own calibration tester, although it is on the 20V range:
Precision Multimeter Calibration Reference: WARNING / DISCLAIMER: If it ain't broke, don't fix it. Tampering with the settings inside your multimeter will void the warranty, could mess up it's accuracy permanently, risks causing mechanical failure, and could feasibly cause actual danger from …

www.instructables.com
Hope that helps.


