Landmark success tonight, just completed this installation.
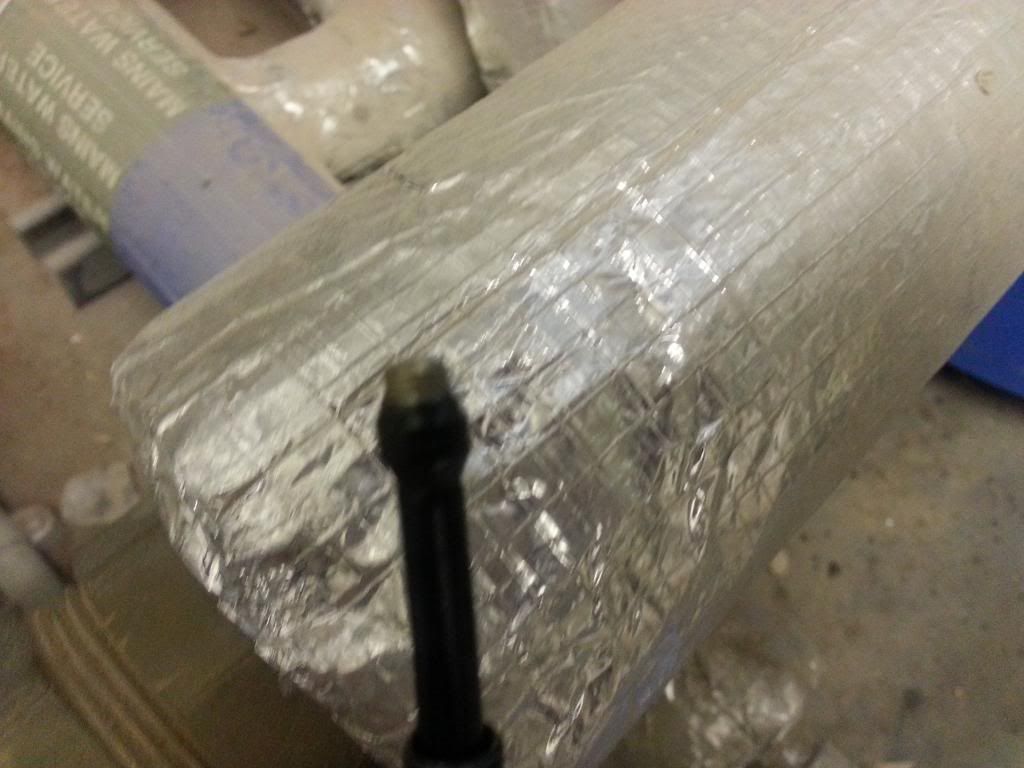
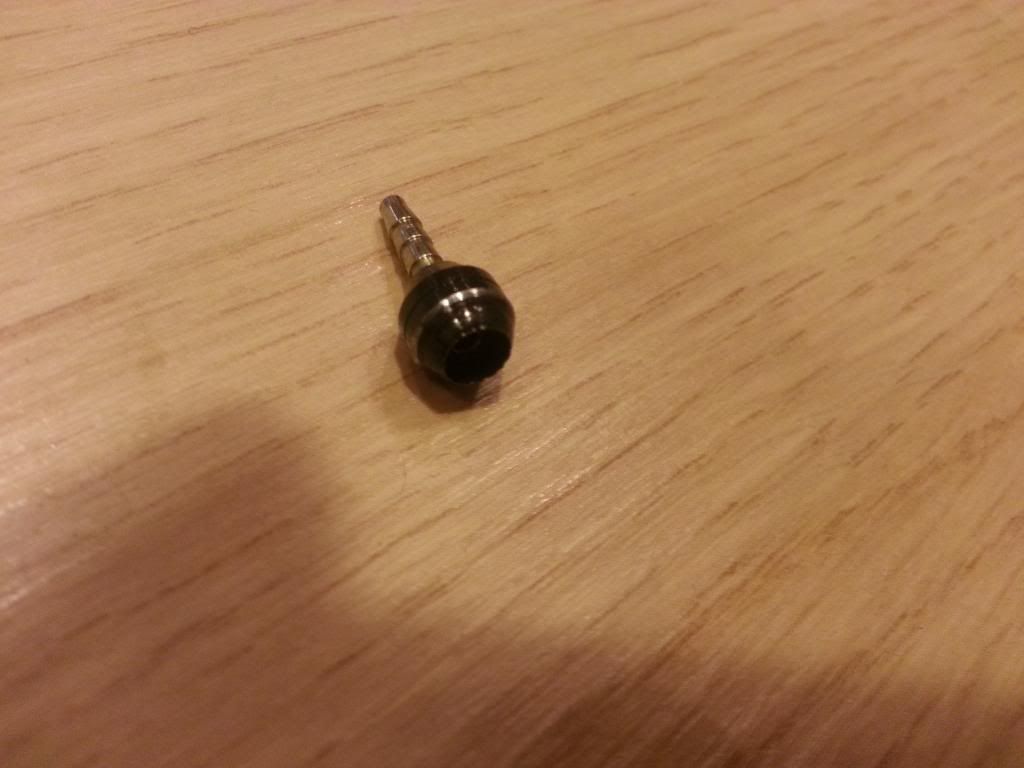
Replacement brass insert for hydraulic brake cable arrived from Chainreaction this afternoon and was exactly right (thanks again amigafan – you saved me an expensive knee-jerk over-reaction !). The Magura inserts fitted inside the cut Shimano hydraulic brake line perfectly too (phew !).
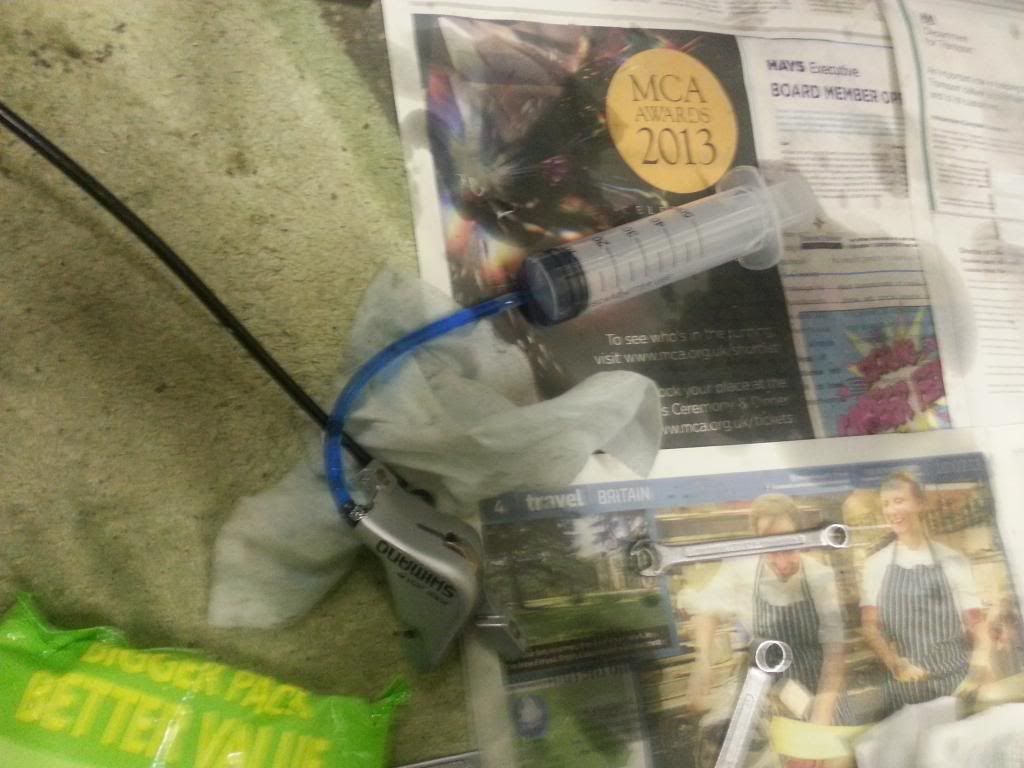
Connected up the switch, dismantled the brake calliper, filled the reservoir, fitted a syringe to the bleed nipple and sucked out all the DOT3 oil. There was quite a lot left in the system despite having shaken out the cables from the lever reservoir side as well as the calliper side.
Relented and decided to use the (returnable) £5 100ml bottle of “Royal Blood” I’d ordered from Chainreaction rather than try to find cheaper stuff for the 1st attempt at this. Basically because I had it and getting anything else would have involved a 7 mile round trip to Halfords !
Fitted a new clean syringe when the blue stuff started coming through and got rid of the old oil.
Then proceeded to learn by experience what NOT to do when trying to bleed brakes !!! The syringe turned out to be a lifesaver because suffice to say I’d have run out of oil about 3 times with the number of attempts I had at getting this right (and was being careful !).
The amount of fluid which for various reasons wound up on the floor, squirted on the walls out of the syringe by mistake, on my hands (used last pair of disposable gloves and forgot to buy any more) and anywhere else you can think of lol.... I still have about 30ml salvaged from the syringes for a 1st topup or two but I’ll definitely follow up the recommendations about cheaper substitutes for maintenance.
I worked through just about everything getting this system bled after fitting the switch – main mistakes were :
1. Not tightening the switch bolts enough – so got leaks at the switch which I thought were problems at the caliper
2. Using a balsa block instead of proper wood to stop the brake piston from advancing when I squeezed the brake levers (of course it just squashed !) .. so fluid leaked from near the edges when I’d bled the system about 4 times after working out the switch bolts needed tightening)
3. Attempting to raise the calliper high rather than tap the cable and pump the brake lever – it just wouldn’t work no matter how many times I tried it to stop air coming out or emptying the reservoir (maybe as these brakes aren’t Magura – or more likely my inexperience and forgetting to do something like close the bleed nipple at the right time )
4. Forgetting to close the bleed nipple when pumping the brake lever
.... and those are just the main ones (!)
Things which saved me from doing major damage were :
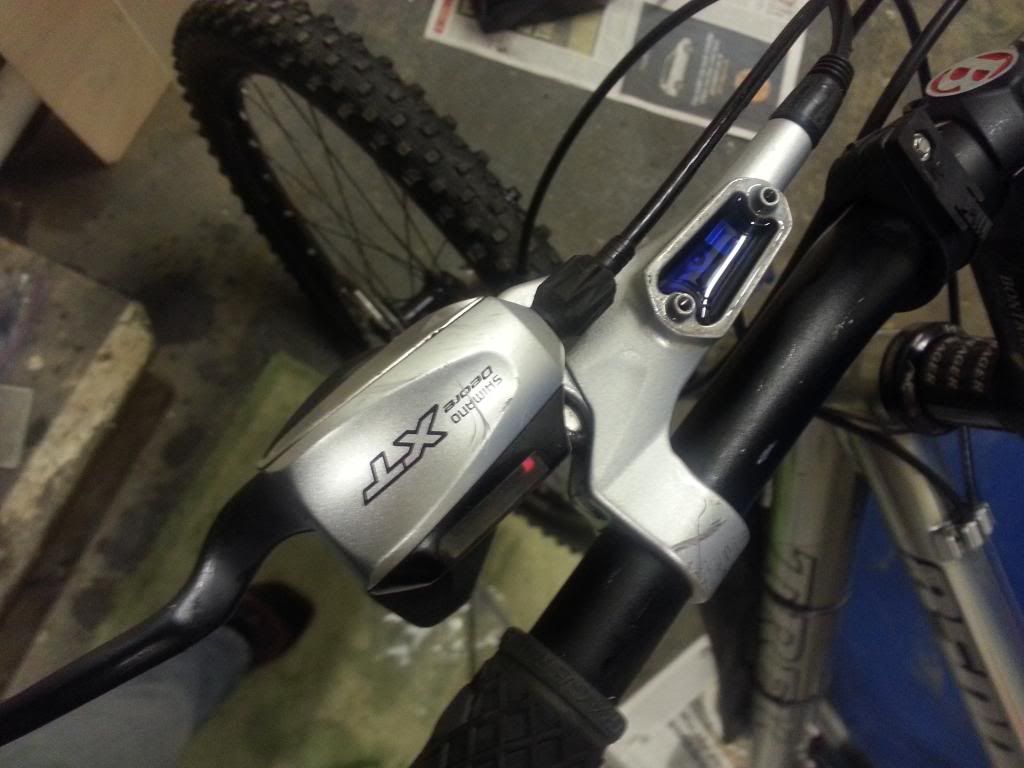
1. Putting a zip seal bag over the switch connector (when fluid leaked from the insufficiently tightened switch it collected in the bag and the connector was saved)
2. Having a huge box of Dettol wipes to hand, immediately mopping up any spilt fluid from bike parts (especially when it started oozing out from round the pistons
3. Having the brake pad assembly on a table well away from workspace (would have got covered in fluid otherwise) ...
In the end, I used this method for these combi-shifter brakes with separate reservoir, but using a syringe and windscreen wiper tubing instead of a service kit/ bag, (which worked a treat in the end) although the levers must have got pumped about 250 times over the 3 hours it took me to fit the switch and finally close the system up :
Park Tool Co. » ParkTool Blog » Shimano® Hydraulic Brake Service and Adjustment
Proof of the pudding ... connected up and tested the switch with the bike upside down and the throttle on constant. It engaged a decent way through applying the brakes, just at the right point so as not to give false cutoff (hopefully will be the same on the road) and cut the motor power just as expected. IT WORKS !!!
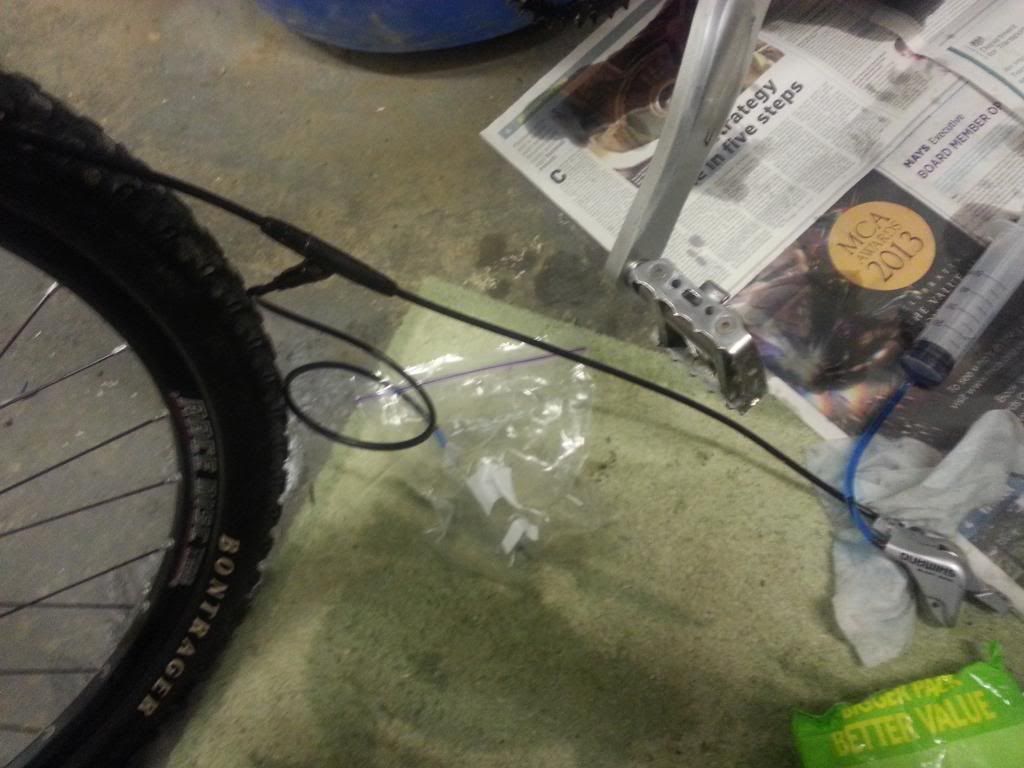
Few piccys, including the fitted switch sited at the seatpost ‘T’ (not tied in yet) :
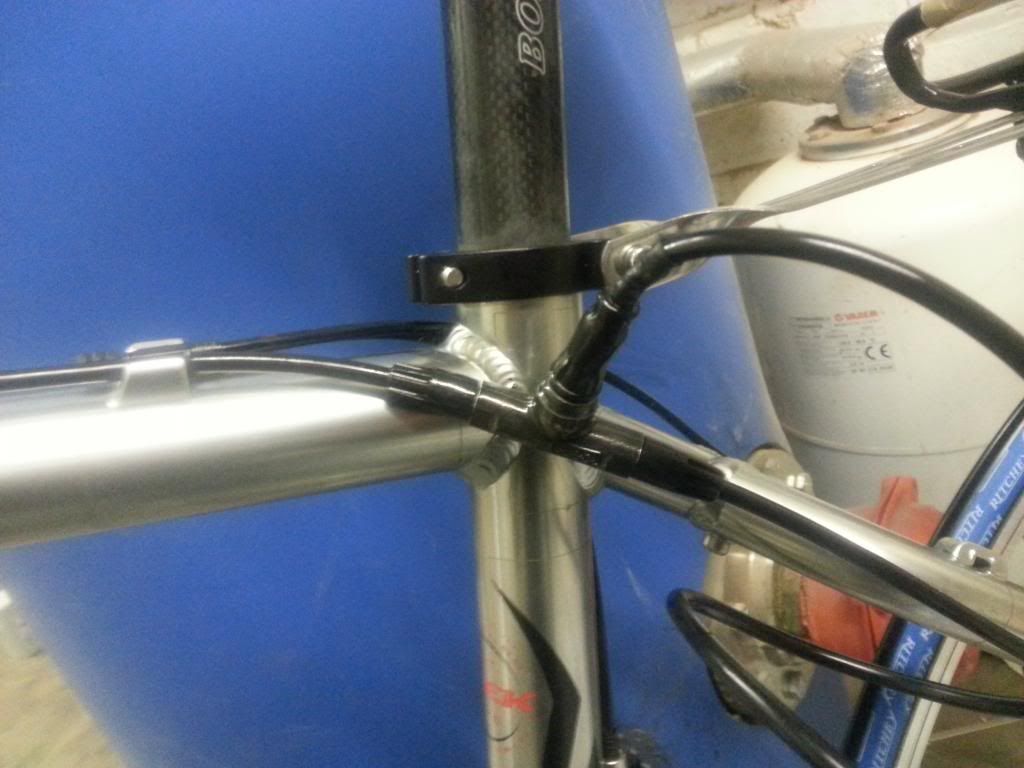
Been very cautious about doing this but seem to have got there in the end. Very grateful to Old_Dave for pointing this switch option out originally, encouraging me to get and fit it, d8veh for sending me the connector to make the mods work and tips on cable cutting, and tillson and mutmost for the tips / info.
Feel like I’ve really achieved something fitting that. Probably the most involved bit of work I’ve done on a bike next to building the motor into the wheel. Confidence is building fast now about maintaining the mechanics of the bike as well as building in more bits for it – would be nice to start feeling the same about the electrics – but it’ll come if I stick at it.
Really happy. Hope it all still works OK when I fit the brake disc on the hub motor !
Just the Hall Sensor connector to go now when it arrives and I should be good to rig up the cassette / brake disc and give this baby a road test !
Replacement brass insert for hydraulic brake cable arrived from Chainreaction this afternoon and was exactly right (thanks again amigafan – you saved me an expensive knee-jerk over-reaction !). The Magura inserts fitted inside the cut Shimano hydraulic brake line perfectly too (phew !).
Connected up the switch, dismantled the brake calliper, filled the reservoir, fitted a syringe to the bleed nipple and sucked out all the DOT3 oil. There was quite a lot left in the system despite having shaken out the cables from the lever reservoir side as well as the calliper side.
Relented and decided to use the (returnable) £5 100ml bottle of “Royal Blood” I’d ordered from Chainreaction rather than try to find cheaper stuff for the 1st attempt at this. Basically because I had it and getting anything else would have involved a 7 mile round trip to Halfords !
Fitted a new clean syringe when the blue stuff started coming through and got rid of the old oil.
Then proceeded to learn by experience what NOT to do when trying to bleed brakes !!! The syringe turned out to be a lifesaver because suffice to say I’d have run out of oil about 3 times with the number of attempts I had at getting this right (and was being careful !).
The amount of fluid which for various reasons wound up on the floor, squirted on the walls out of the syringe by mistake, on my hands (used last pair of disposable gloves and forgot to buy any more) and anywhere else you can think of lol.... I still have about 30ml salvaged from the syringes for a 1st topup or two but I’ll definitely follow up the recommendations about cheaper substitutes for maintenance.
I worked through just about everything getting this system bled after fitting the switch – main mistakes were :
1. Not tightening the switch bolts enough – so got leaks at the switch which I thought were problems at the caliper
2. Using a balsa block instead of proper wood to stop the brake piston from advancing when I squeezed the brake levers (of course it just squashed !) .. so fluid leaked from near the edges when I’d bled the system about 4 times after working out the switch bolts needed tightening)
3. Attempting to raise the calliper high rather than tap the cable and pump the brake lever – it just wouldn’t work no matter how many times I tried it to stop air coming out or emptying the reservoir (maybe as these brakes aren’t Magura – or more likely my inexperience and forgetting to do something like close the bleed nipple at the right time )
4. Forgetting to close the bleed nipple when pumping the brake lever
.... and those are just the main ones (!)
Things which saved me from doing major damage were :
1. Putting a zip seal bag over the switch connector (when fluid leaked from the insufficiently tightened switch it collected in the bag and the connector was saved)
2. Having a huge box of Dettol wipes to hand, immediately mopping up any spilt fluid from bike parts (especially when it started oozing out from round the pistons
3. Having the brake pad assembly on a table well away from workspace (would have got covered in fluid otherwise) ...
In the end, I used this method for these combi-shifter brakes with separate reservoir, but using a syringe and windscreen wiper tubing instead of a service kit/ bag, (which worked a treat in the end) although the levers must have got pumped about 250 times over the 3 hours it took me to fit the switch and finally close the system up :
Park Tool Co. » ParkTool Blog » Shimano® Hydraulic Brake Service and Adjustment
Proof of the pudding ... connected up and tested the switch with the bike upside down and the throttle on constant. It engaged a decent way through applying the brakes, just at the right point so as not to give false cutoff (hopefully will be the same on the road) and cut the motor power just as expected. IT WORKS !!!
Few piccys, including the fitted switch sited at the seatpost ‘T’ (not tied in yet) :
Been very cautious about doing this but seem to have got there in the end. Very grateful to Old_Dave for pointing this switch option out originally, encouraging me to get and fit it, d8veh for sending me the connector to make the mods work and tips on cable cutting, and tillson and mutmost for the tips / info.
Feel like I’ve really achieved something fitting that. Probably the most involved bit of work I’ve done on a bike next to building the motor into the wheel. Confidence is building fast now about maintaining the mechanics of the bike as well as building in more bits for it – would be nice to start feeling the same about the electrics – but it’ll come if I stick at it.
Really happy. Hope it all still works OK when I fit the brake disc on the hub motor !
Just the Hall Sensor connector to go now when it arrives and I should be good to rig up the cassette / brake disc and give this baby a road test !