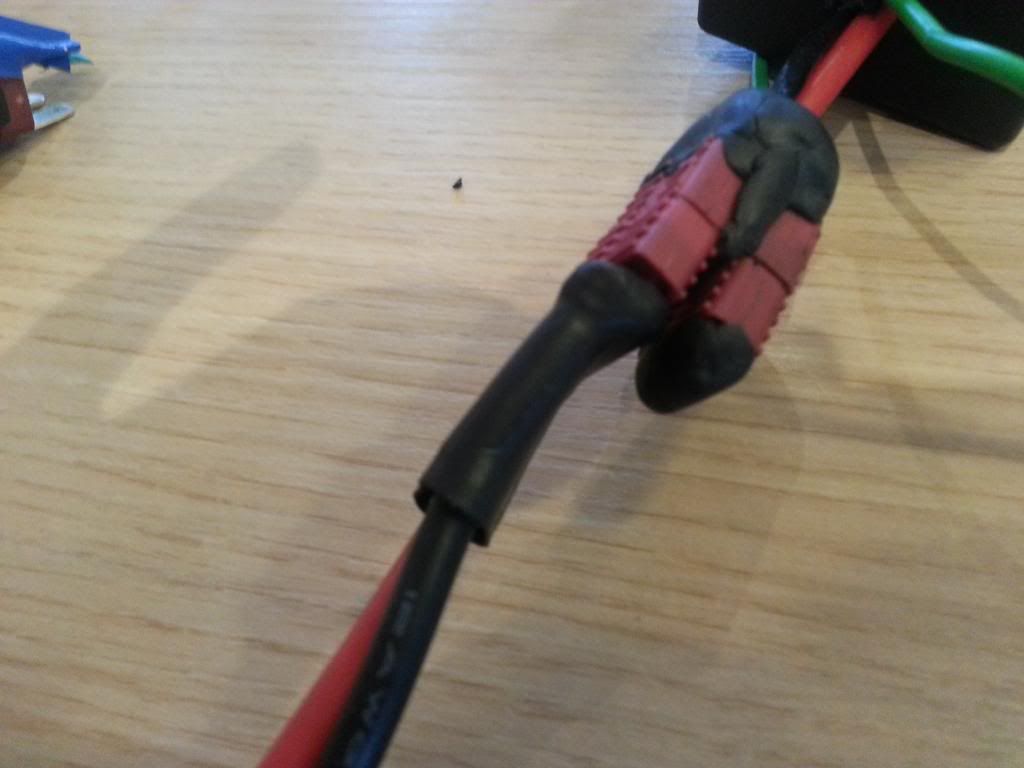
Finally solder on the supply wires from my switch (could just as easily be +ve & 0V if no switch) to the relevant solder bridges and insulate right round the joins with Sugru. Leave to set for a full 24 hours.
Photo is of the 2-outlet double-Deans connector coming from the switch coupled to 1 x blanking plug where the accessory wiring harness & 0V wires will plug into when built and the existing controller connector pin is plugged into the other.

The black Sugru is set solid and as an electrical insulator will also protect against shorting, sparks etc. It's very soft when unset and can get right into and around any nook or cranny so you get a moulded rubber coating round the pins, solder bridges and wire ends when set as it's impossible to use shrinkwrap in that sort of arrangement. Magic. .
.
The future needs fixing - the future needs fixing - sugru
Photo is of the 2-outlet double-Deans connector coming from the switch coupled to 1 x blanking plug where the accessory wiring harness & 0V wires will plug into when built and the existing controller connector pin is plugged into the other.

The black Sugru is set solid and as an electrical insulator will also protect against shorting, sparks etc. It's very soft when unset and can get right into and around any nook or cranny so you get a moulded rubber coating round the pins, solder bridges and wire ends when set as it's impossible to use shrinkwrap in that sort of arrangement. Magic.
The future needs fixing - the future needs fixing - sugru
Last edited:


