What a day ..... d8veh must be absolutely wrecked

. We worked from about 11am to 7.30pm straight with about a half hour off for tea and lunch today, but such a great result.
After the distasters and set-backs of brake switches and broken motor leads, it's all now working again.
The repair held absolutely solid, all the tests showed OK and the rotor went back on fine too. Reassembling proved a bit of a challenge - with all the photographing and bringing bits back & forth inside for repair etc. I'd got the washers and a couple of the other parts muddled and it was a bit of a chinese puzzle to figure it all out.
Thankfully d8veh's experience came into play and after about an hour and a half we'd cracked it - there was only one way things could logically go. But a schematic would have been a real help it has to be said. If you ever disassemble one of these, lay out all the bits and take a clear photo. It'll save a load of head-scratching down the line !
Had a go at soldering on the LM35 but the pins gave out and wouldn't take being bent into the PCB slots. So we ditched that one. Just wasn't worth it for what I'd get out of it and everything we were trying to achieve in a day.
I stupidly forgot to photograph the reassembly - too busy watching the master at work lol.
Quick break for lunch and finished off the assembly back into the wheel - having had it open, sealed the cover plate screws and formed a gasket on the cassette side for added protection. Connected up with bike upturned and a quick test showed everything working - including my brake cutoff - a VERY happy moment.
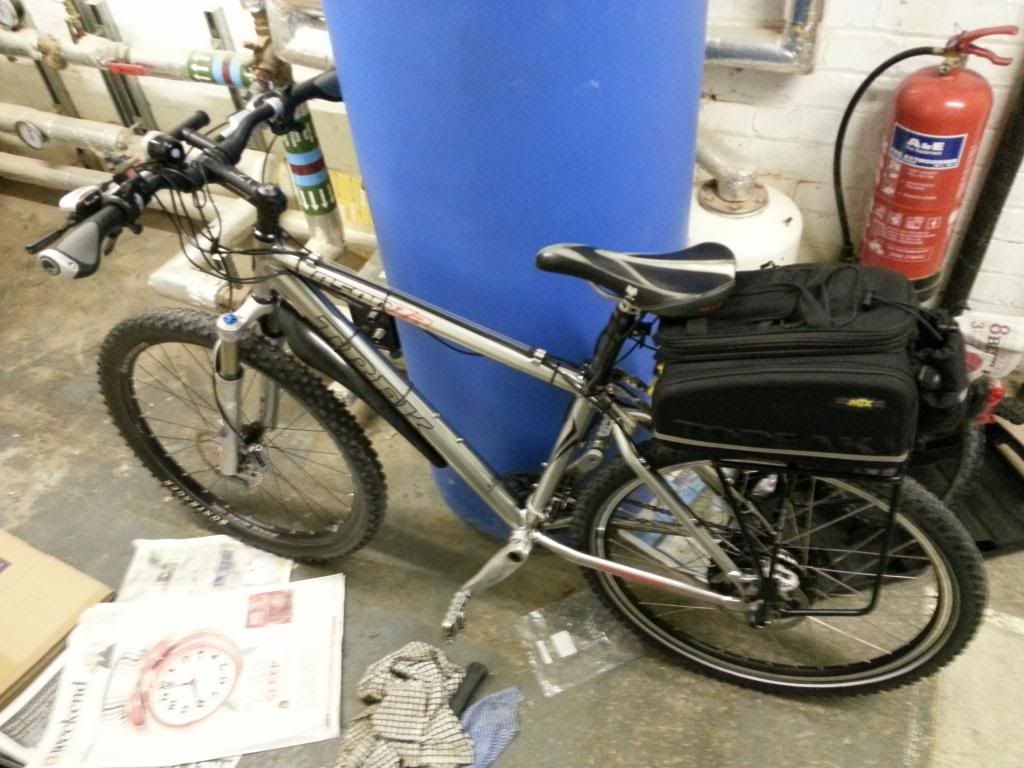
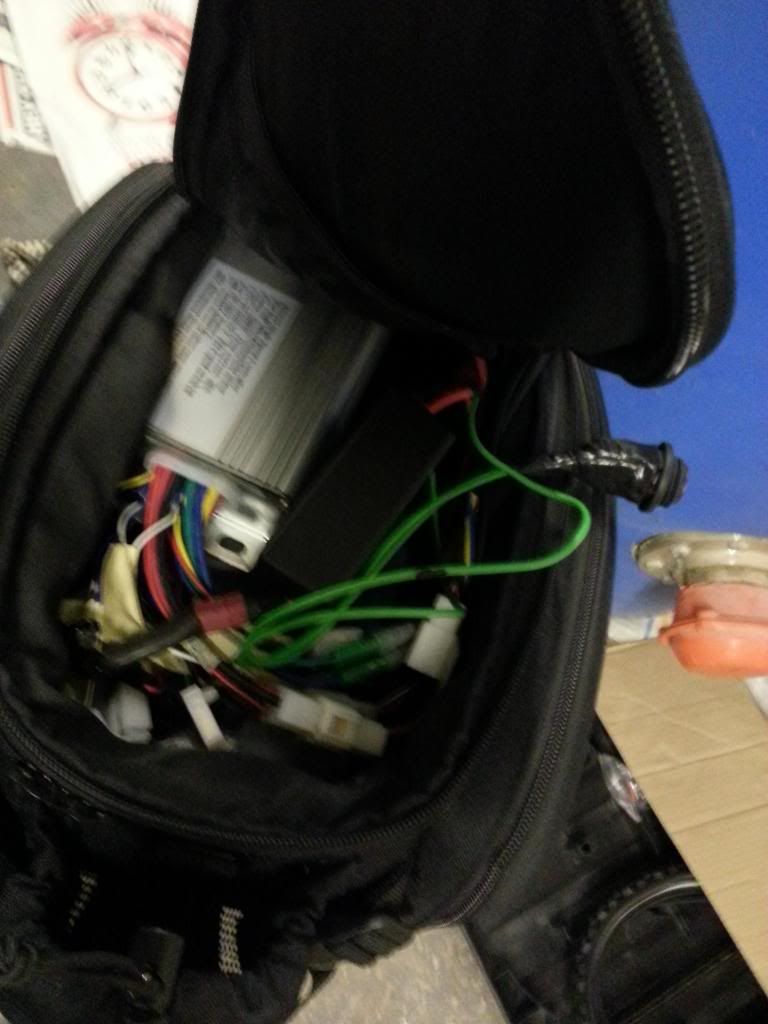
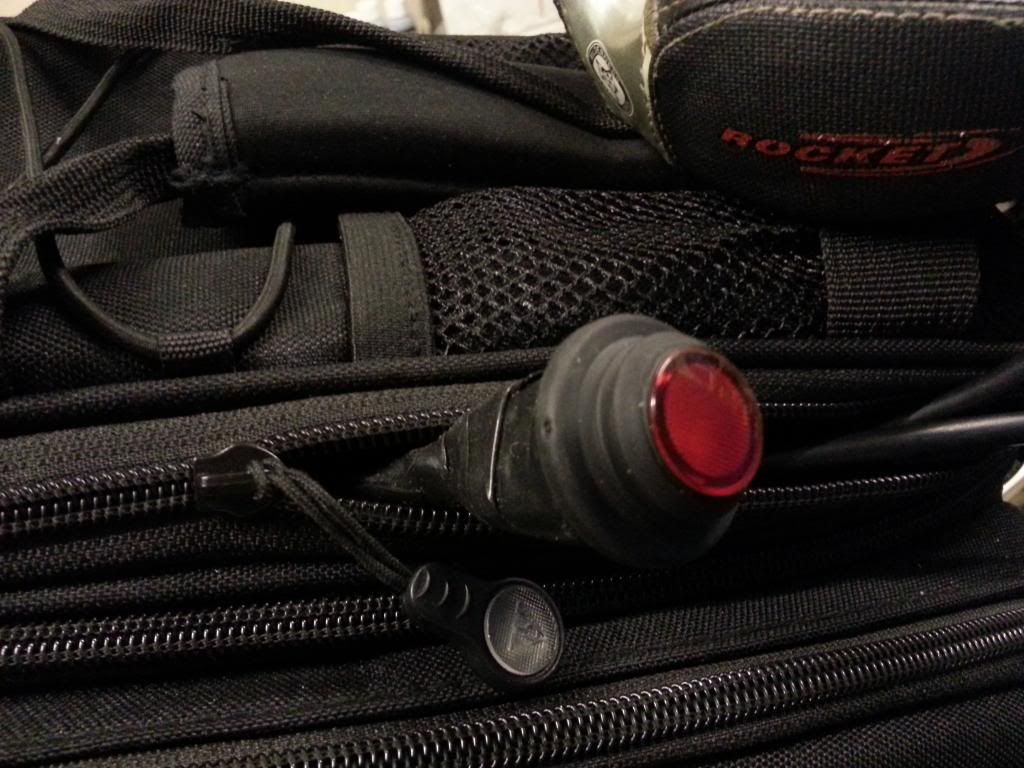
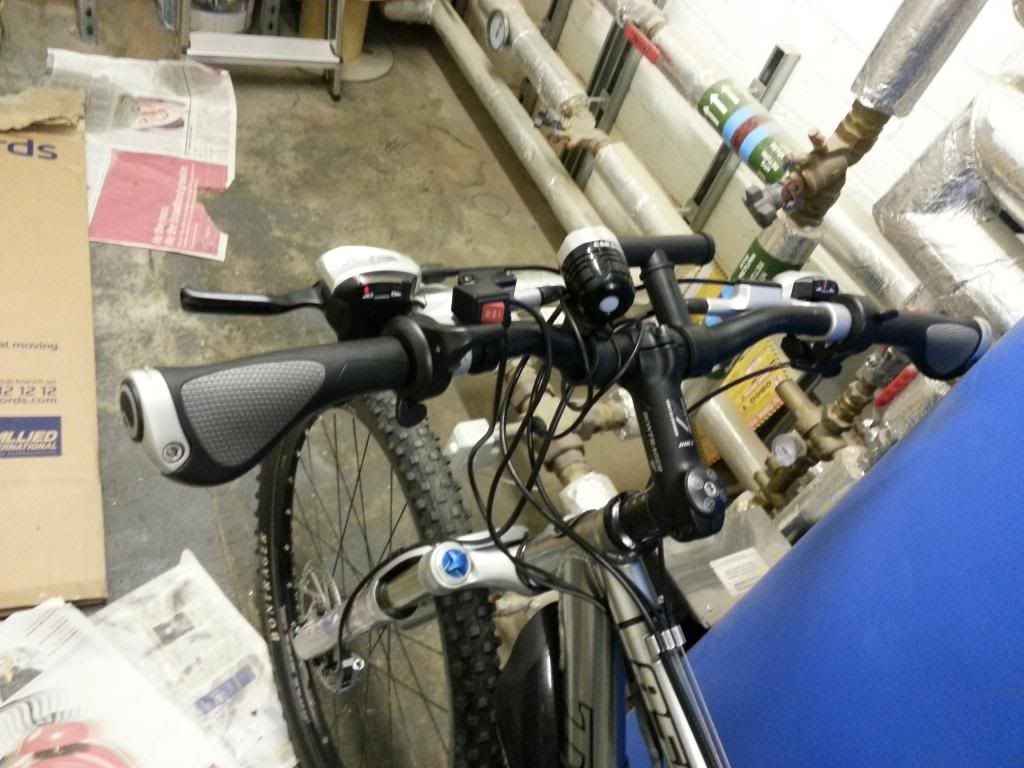
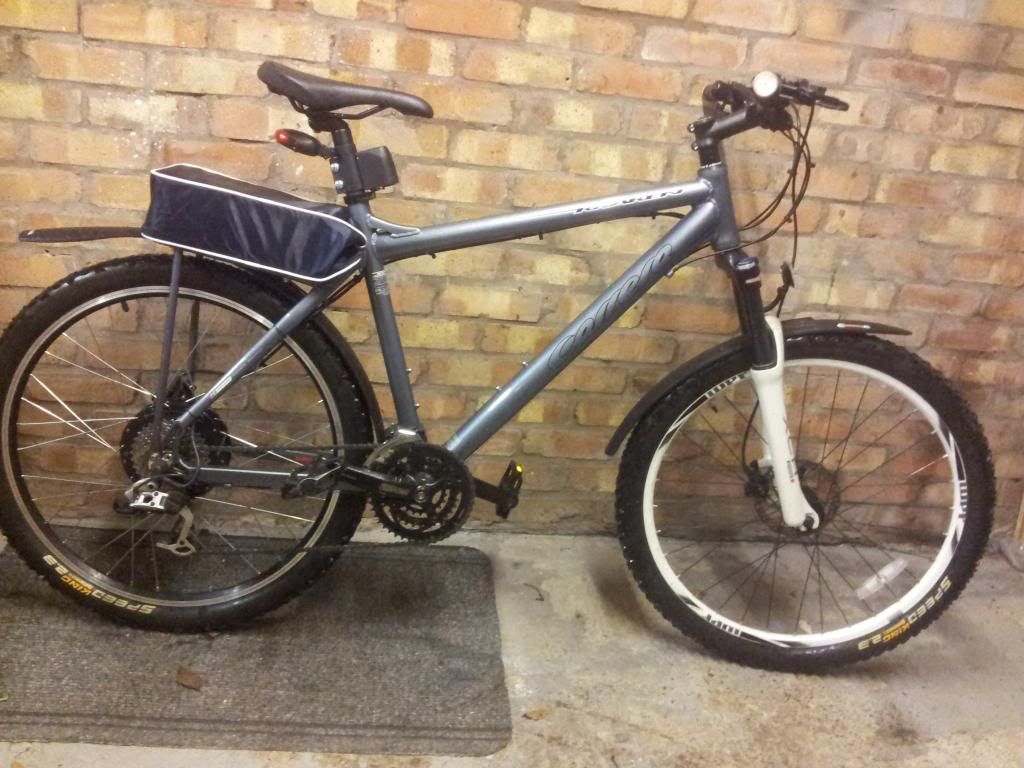
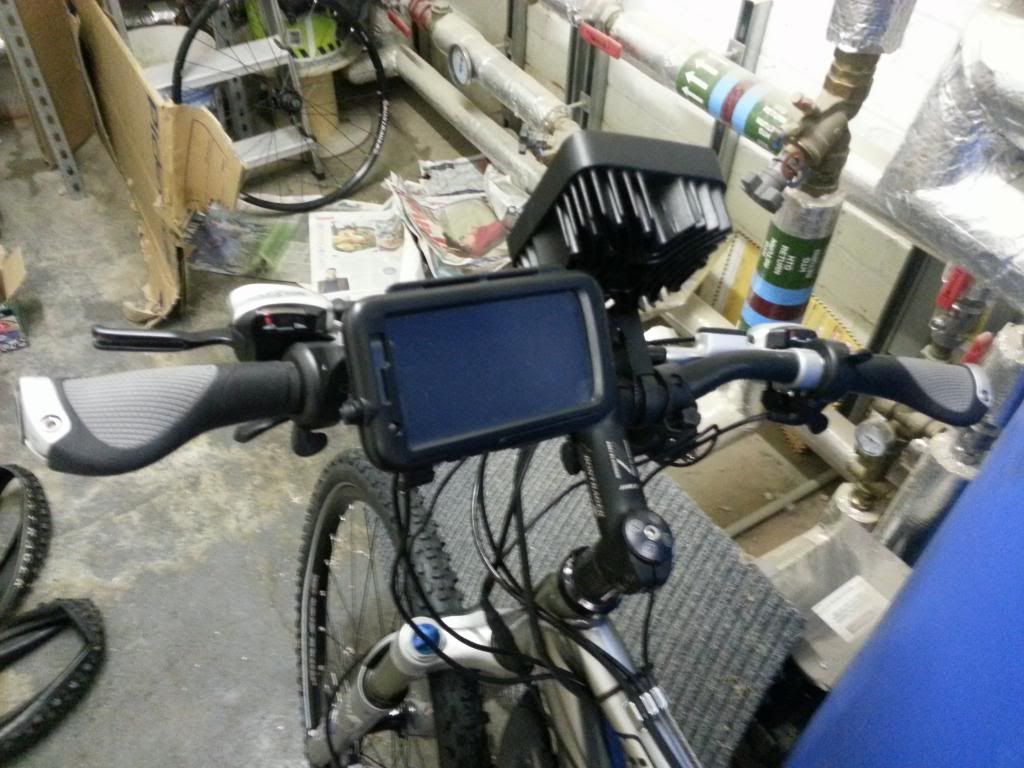
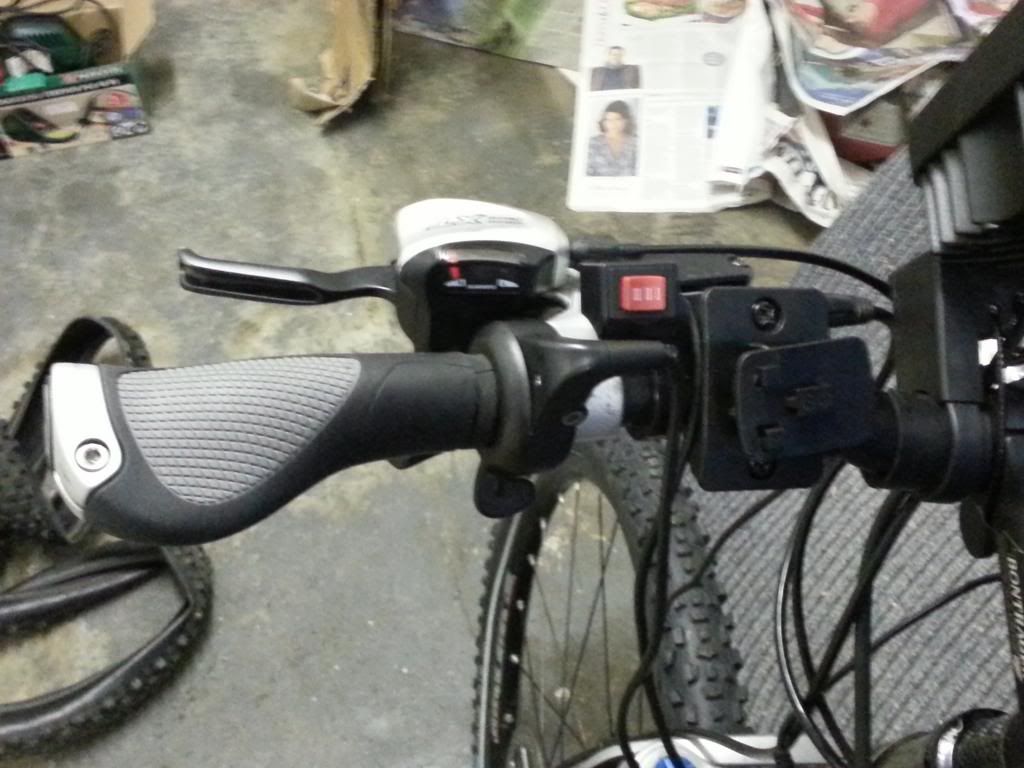
My grips arrived right on cue in the post so got the handlebars assembled and spent a good couple more hours making further mods to the torque arm with angle grinder and carbide drill bits, sorting the bolts, adjusting the rack etc. and rigged up the battery, controller and wiring in my Topeak rack bag for testing.
Cable ties to tidy up and secure. Then moment of real truth - 1st ever test rides. Thought d8veh should have the first go

. We decided the tyre wasn't seated properly in the rim so fitted a new Marathon Plus MTB tyre which also arrived in the post today. Much better.
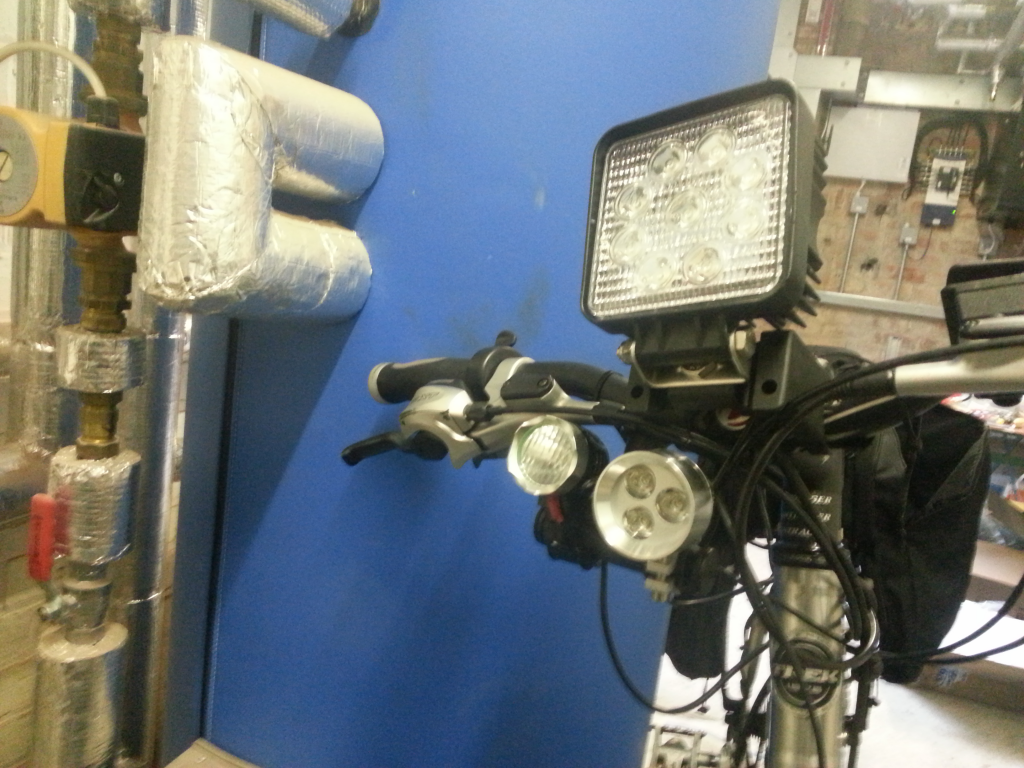
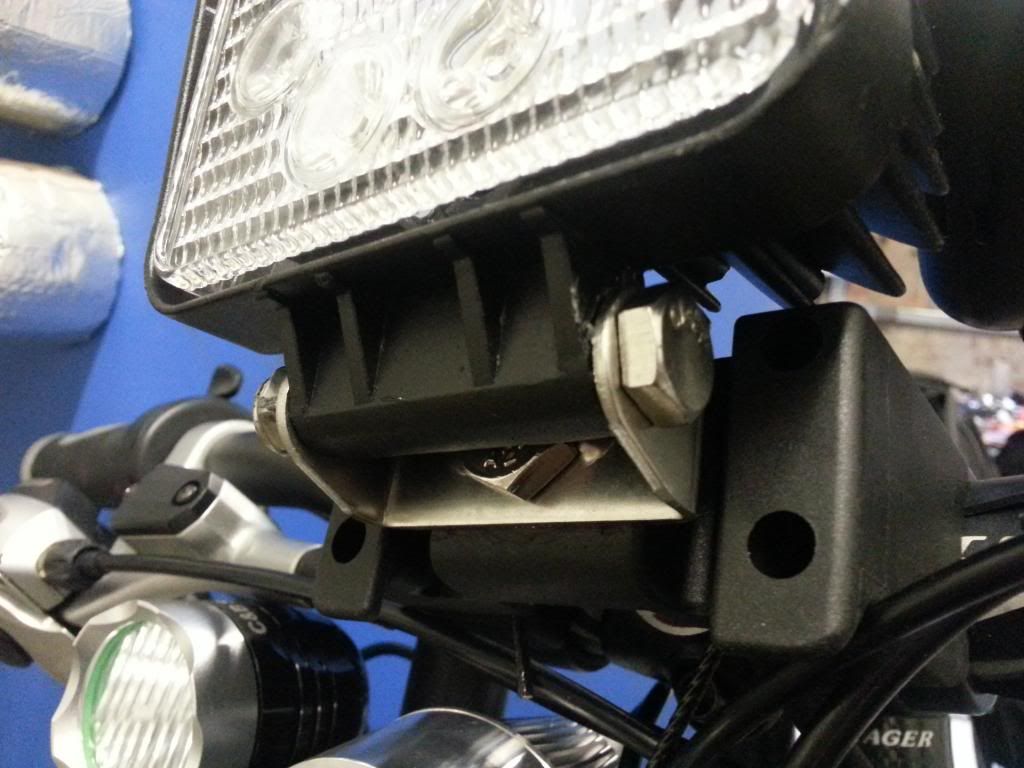
It was dusk by the time we got the final rides in, so popped on some temporary lights for safety and took it for a proper ride round the block. Oh my god... is all

... what a machine

. All the trials and setbacks melted away in relief and happiness as the bike shot up the hill round the corner effortlessly - all by itself ! We moved the front gearing onto the outermost chainring and I clipped in and gave it some wellie up the hill on full throttle.
Well, all I can say is I was totally blown away and I'm overwhelmed with gratitude to d8veh for coming down and getting me up and running today. It's been a real long road to get here but I'm SO glad I didn't pull the plug on this. The bike is simply awesome. To be handled responsibly ... and with care !!!
So the first incarnation is complete and the bike is usable. I thought the day would never come. Not defeated, d8veh decided to show me how to wire in the battery isolator on/off switch which will transfer to my box, which is the next stage to complete the build.
The box build will permanently install the battery and all the associated electrics for additional circuits :
- in-built lighting with 2-CREE day/town running circuit, on/off/brightness operation controlled from the lights.
- separate handlebar control switch for lower bracket mounted high-power night off-roading spots with separately wireable horn button (momentary switch) to operate horn if installed
- 12V charging socket - fully waterproof and marine grade compatible with phone charger case and any other 12V accessories which would plug into a socket like this in a car or motorbike
- battery charger socket for on-bike charging
- master on/off control FET switch to isolate all circuits from battery
- any other externally mounted push / toggle switches
- after much deliberation, most likely Cycle Analyst rather than Speedict now we've discussed how I'd mount it in addition to my phone on the bike
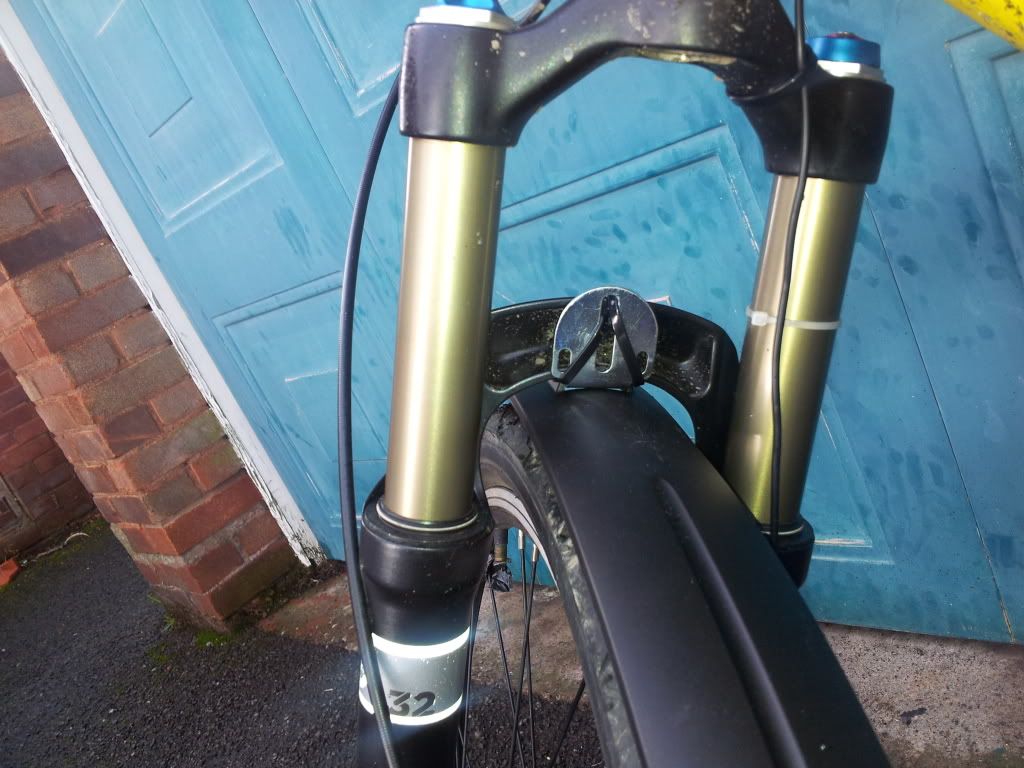
Barring a few fuses / fuse holders, getting some mudguards modded to fit, popping a kickstand on (d8veh's showed me how to get something to works on that bike frame) I have just about everything needed in now.
Just got to then tidy up the connectors and work out how to fit it all in / best arrange things in the box which will have to be something designed as it's constructed. No matter what's put on paper when you come to do this it'll only make sense looks and arrangement-wise when I build the thing. But ..... it's do'able. If I drop anything it'll likely be the horn. Idea was more to make use of a switch button option than for its likely use, but it does add weight and it's all a trade-off.
There's quite a bit to do - but I've so much clearer picture of what and how now. Would have taken me weeks to muddle through those thought processes on forum posts and trial / error. One day with d8veh and I feel I'm almost there on the planning and procurement. An incredible result. There'll be a few more questions but the forum's probably been saved oceans of tedious complete novice Q&A !
We went out for a curry and a chinwag to refuel and poor d8veh finally got on the road home at gone 11.30pm. Top bloke - really great to meet him and learned an unbelievable amount. Worth .... weight ... gold .... !!
 .
. .
.


