D
Deleted member 4366
Guest
If you've got a faint heart, don't read this thread because it has graphic pictures of major surgery.
I was given a bottle battery to have a look at, which wouldn''t charge. I checked the voltage on both the charge socket and the main connector, which both showed about 36v.
Charger showed 41.7v -- time to open it up.
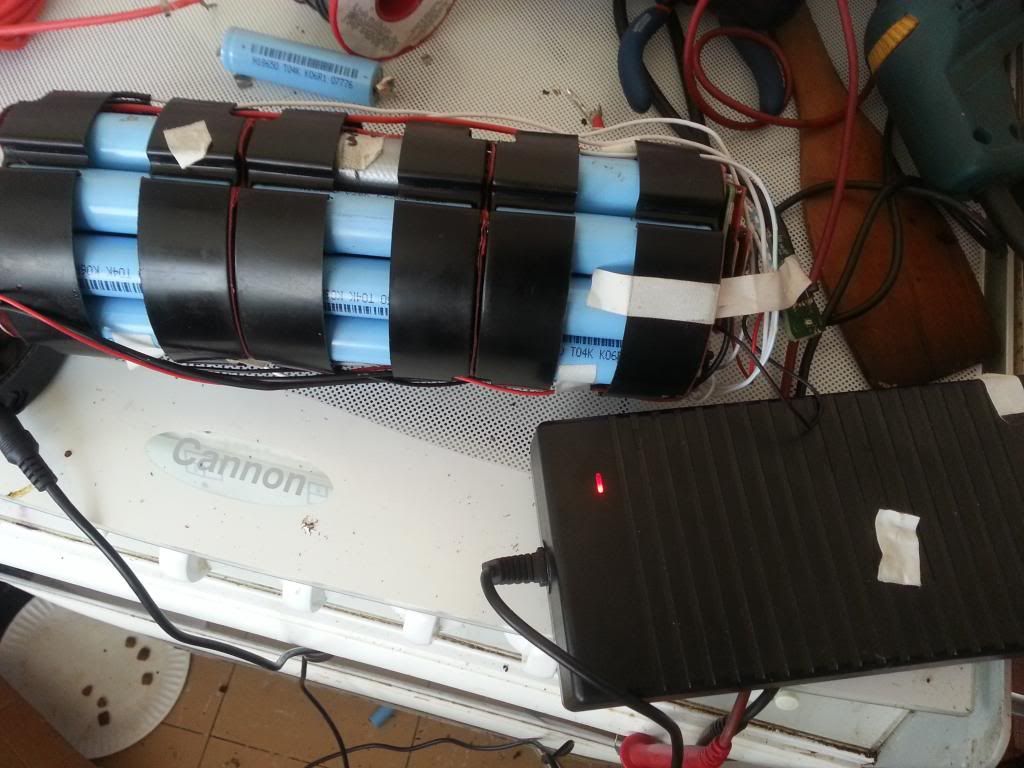
Opening is easy enough: Undo the screws in the bottom and top; remove the LED board from the top, and slide everything downwards and you then have the contents to look at:
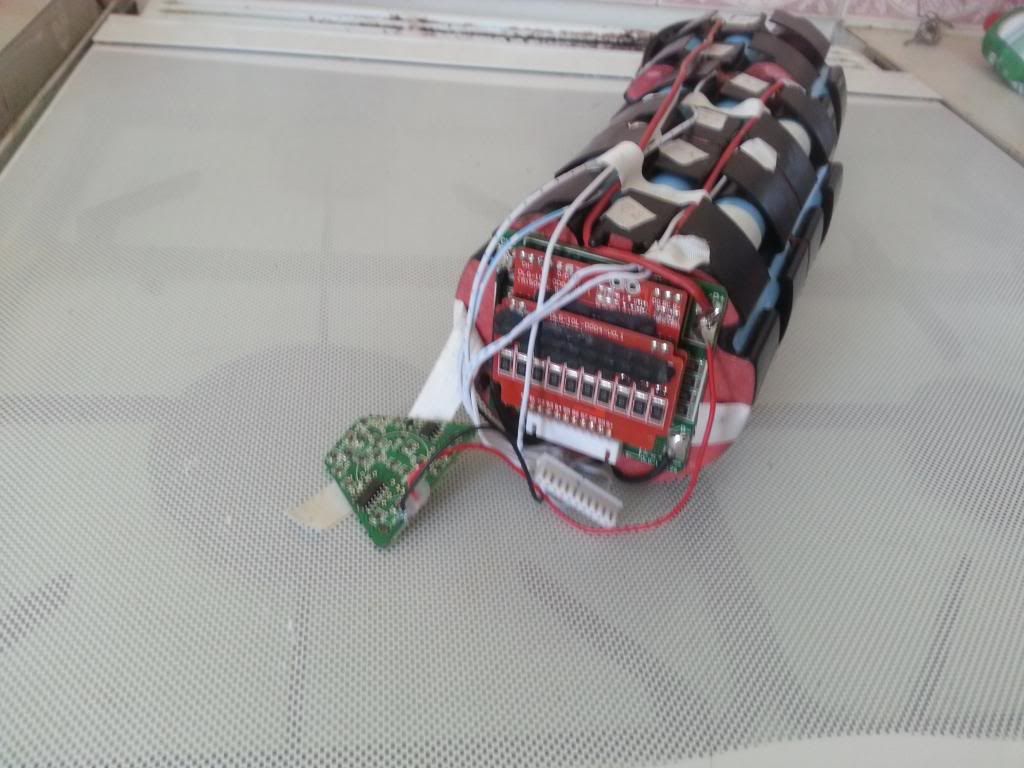
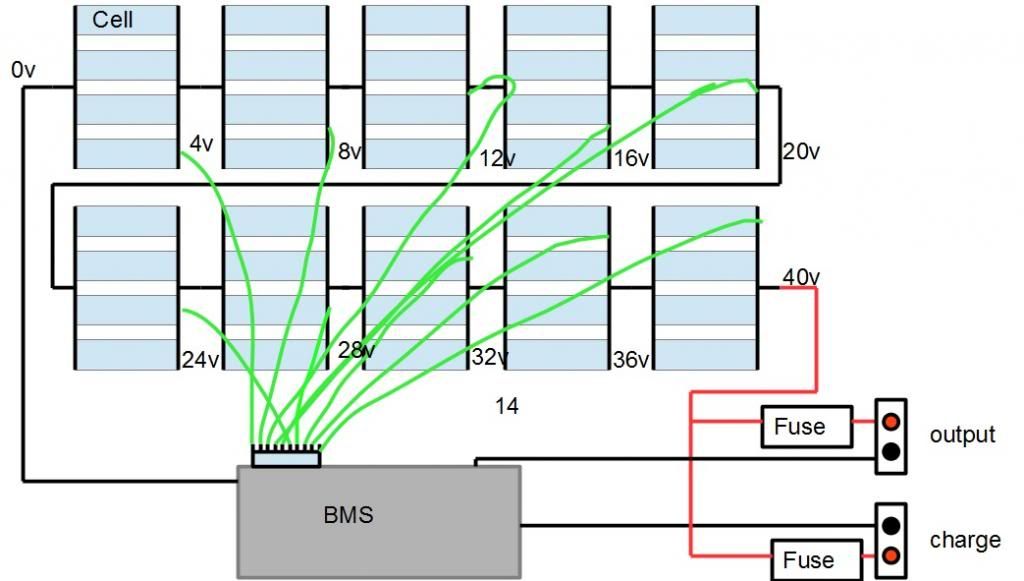
This battery has 40 cells on a 10S4P configuration. Lets say 10 strings of four cells.
I pulled the plug on the BMS and checked the string voltages. This battery only had 10 wires to the BMS connector, which means either the red or the black main wire is the 11th. You need 11 wires to measure 10 strings. In this case, the 11th was the black wire. All strings were OK except number six, which showed 0v. This means four individual cells are scrap.
I followed the balance wire down, and it led to the middle of the pack somewhere. Oh well, time to ripit apart. It's scrap as it is, so nothing to lose.
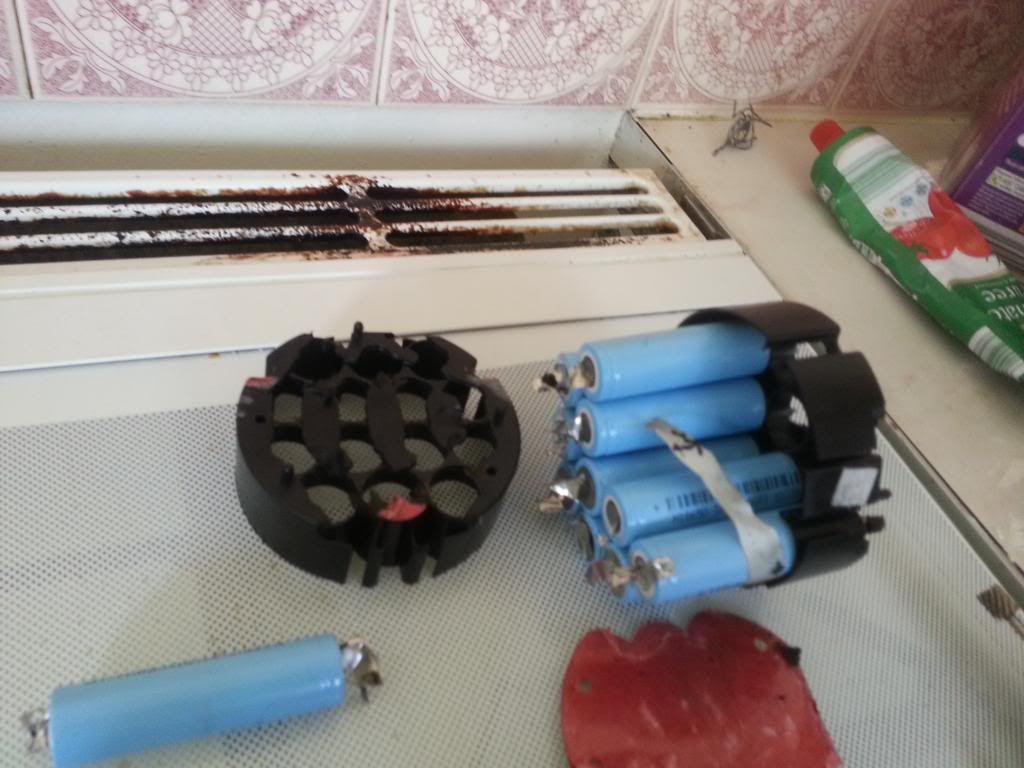
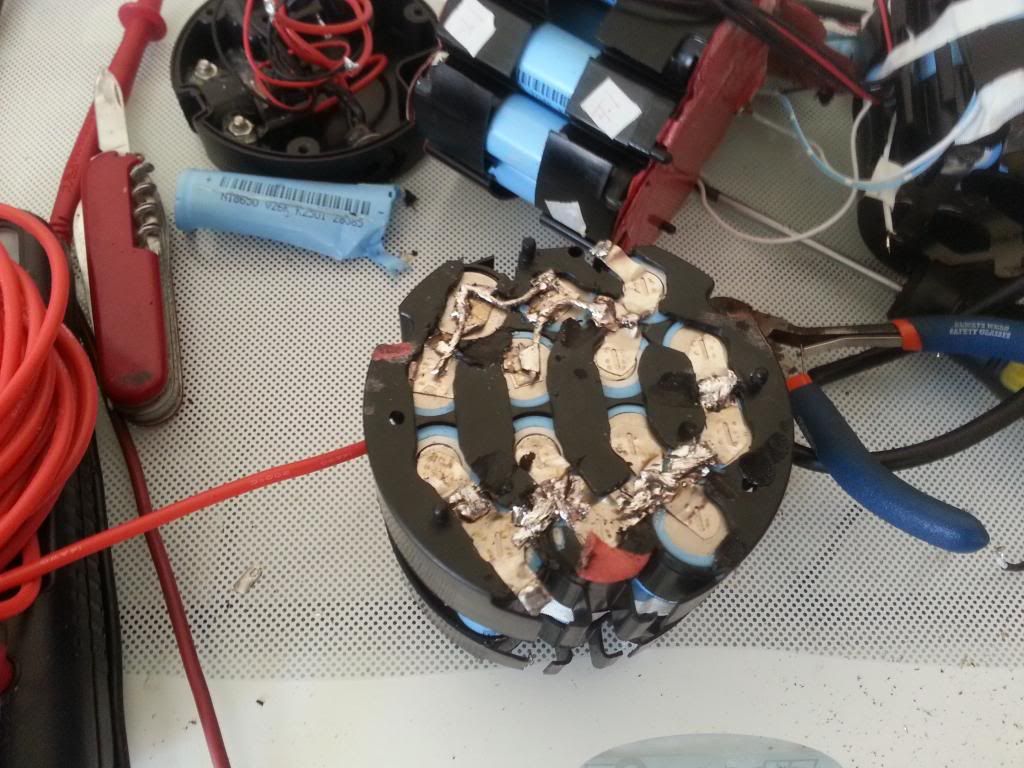
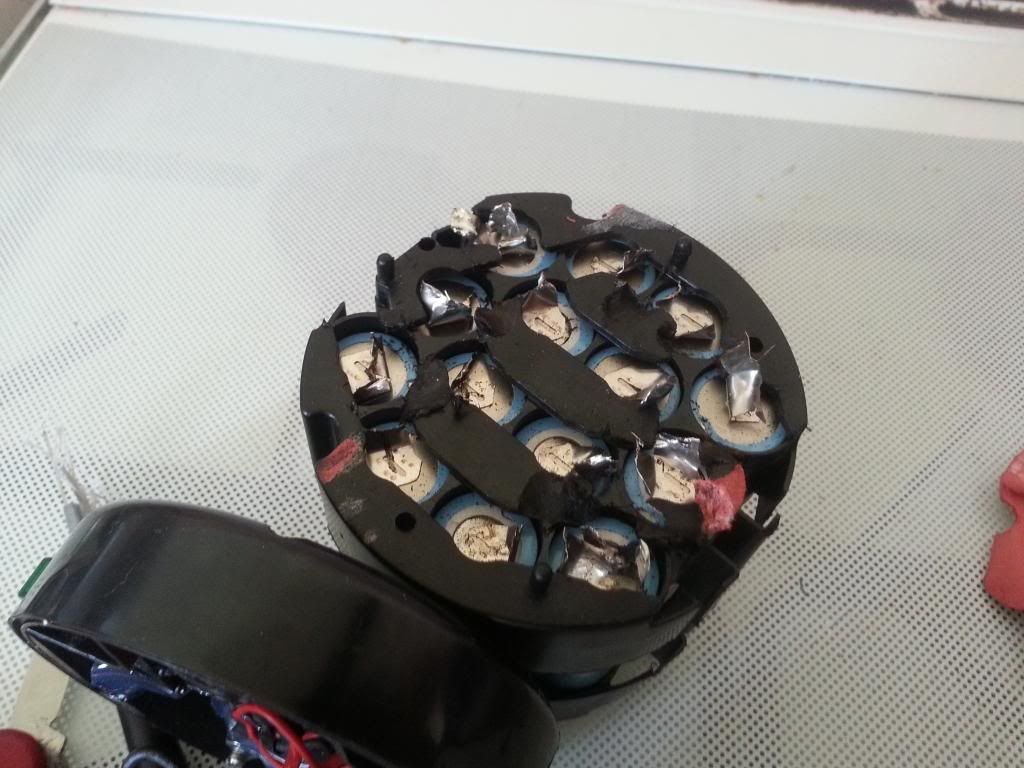
I had to unsolder several wires because they're put on at the end, and hold it together. Then I was able to break out the middle section to see the problem. There was one cell showing signs of leakage. I had some spare cells, but the ones in this battery are welded together after being assembled into the plastic holders. The only way to get them out is to cut all the welded strips, but you can't get cutters on them because the plastic holder prevents you from getting cutters on them. I therefore had to use my trusty Dremmel to remove plastic at every cutting point. Here it is all cut and ready to pull apart. You have to do both ends. It's a lot of work:
I was given a bottle battery to have a look at, which wouldn''t charge. I checked the voltage on both the charge socket and the main connector, which both showed about 36v.
Charger showed 41.7v -- time to open it up.
Opening is easy enough: Undo the screws in the bottom and top; remove the LED board from the top, and slide everything downwards and you then have the contents to look at:

This battery has 40 cells on a 10S4P configuration. Lets say 10 strings of four cells.
I pulled the plug on the BMS and checked the string voltages. This battery only had 10 wires to the BMS connector, which means either the red or the black main wire is the 11th. You need 11 wires to measure 10 strings. In this case, the 11th was the black wire. All strings were OK except number six, which showed 0v. This means four individual cells are scrap.
I followed the balance wire down, and it led to the middle of the pack somewhere. Oh well, time to ripit apart. It's scrap as it is, so nothing to lose.
I had to unsolder several wires because they're put on at the end, and hold it together. Then I was able to break out the middle section to see the problem. There was one cell showing signs of leakage. I had some spare cells, but the ones in this battery are welded together after being assembled into the plastic holders. The only way to get them out is to cut all the welded strips, but you can't get cutters on them because the plastic holder prevents you from getting cutters on them. I therefore had to use my trusty Dremmel to remove plastic at every cutting point. Here it is all cut and ready to pull apart. You have to do both ends. It's a lot of work:


